
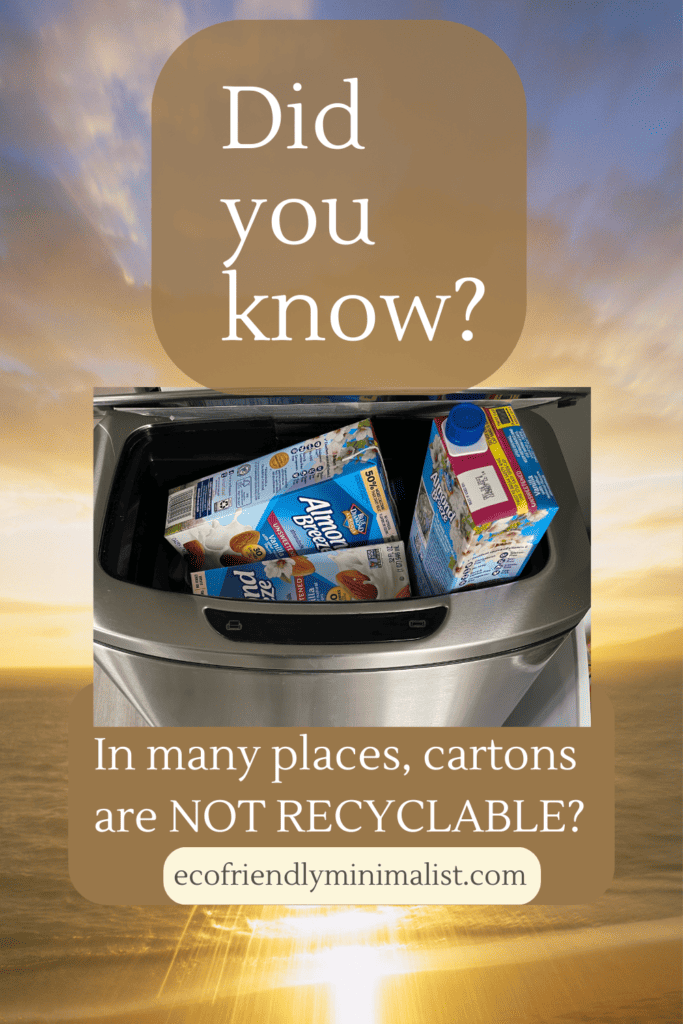
Have you ever stopped to consider the environmental impact of almond milk cartons? I did. As a regular almond milk drinker—especially with my morning espresso—I was shocked to find out that my local recycling center doesn’t accept the coated paper cartons. If I continued buying store-bought almond milk, I was faced with two choices: contribute to the growing problem of plastic waste or add to the already overflowing landfill with slow-to-decompose paper cartons.
I decided there had to be a better solution. That’s when I started my journey to make my own homemade almond milk. Not only does it drastically reduce waste, but it also brings me a sense of joy and accomplishment. And the best part? It’s surprisingly easy.
But before we dive into the step-by-step guide, let’s talk about the recycling reality and exploring the world of homemade almond milk. Together, we’ll discover the simplicity, the rewards, and the sustainability of making your own almond milk. So, join me as we navigate the path toward ditching the cartons and embracing a more conscious, empowering way of enjoying almond milk. Are you ready to make a positive impact with every sip? Let’s get started!
the Recycling Reality
We’re all familiar with the recycling logo: Three arrows going in a circle, round, and round. When we see the arrows, we think, “This is recyclable,” right? Wrong.
When I read the fine print next to the “three arrows” symbol, it took me to a website called “how2recycle.info.
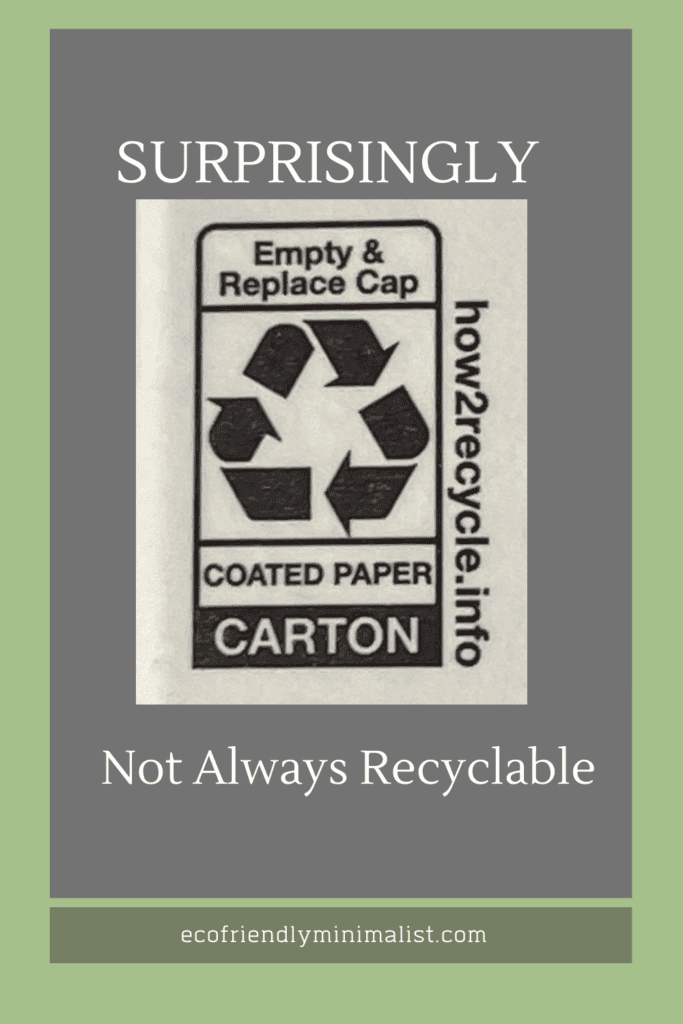
Once there, I learned that the How2Recycle label is more than just a label; it is an independent 501(c)(3) environmental non-profit. They work with member companies to make their packaging more recyclable. Their website helps people LEARN about recycling with their Guide to Recyclability, which defines and interprets the recyclability for hundreds of products.
As a consumer, the big problem for me is how misleading the recycling logo is. Seeing those three arrows made me believe the packaging was recyclable when it might not be. This misperception adds to our confusion and reinforces why we need to learn about how to recycle.
Let’s empower ourselves with knowledge and make choices that align with our sustainability goals.
Embracing Homemade Almond Milk
The Joy of Creating:
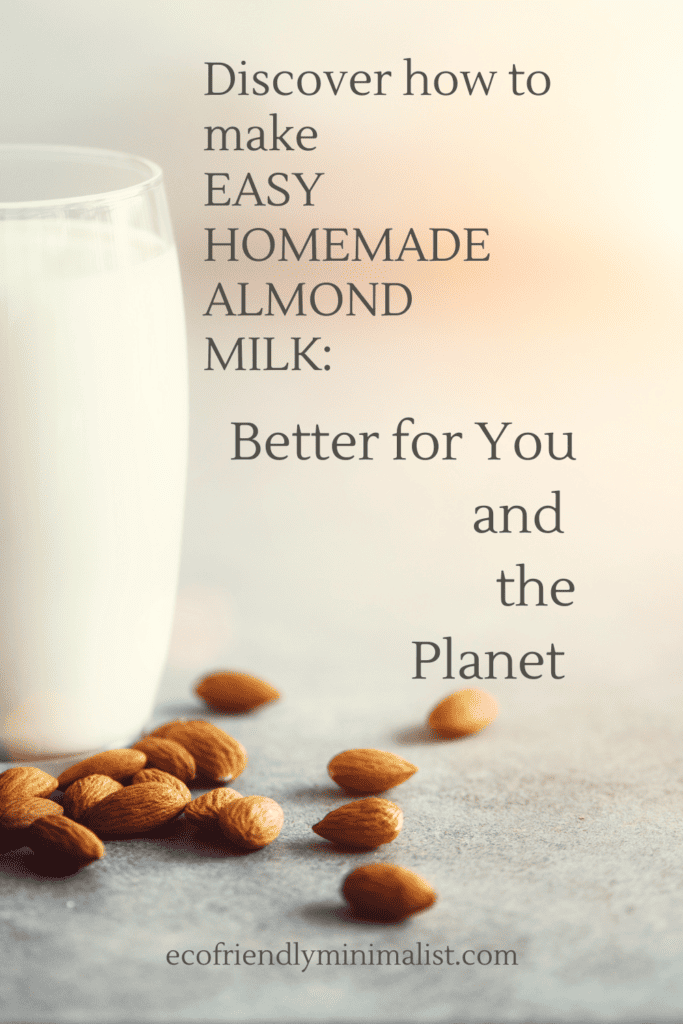
Making almond milk at home has been a gratifying experience. I have reconnected with the joy of creating something wholesome and nourishing from scratch. The process is surprisingly simple: with just two ingredients and a blender, we can transform raw almonds and water into a luscious, creamy milk surpassing store-bought alternatives in taste and quality.
Adding your own flavors:
One of the best parts of making almond milk at home is that you can customize it to suit your preferences. Whether you prefer a sweetness or a pure, unsweetened taste, you can adjust the flavor and consistency to your liking. Experimenting with different variations, such as adding natural sweeteners like dates or incorporating flavors like vanilla or cocoa, opens up many possibilities.
homemade almond milk – Step-by-Step Guide:
Soaking and Blending Almonds:
- Begin by soaking raw almonds in water overnight. This process softens the almonds and helps achieve a smoother milk texture.
- Rinse and drain the soaked almonds before transferring them to a blender.
- Add fresh water to the blender, using a ratio of approximately 1 cup of almonds to 4 cups of water.
- Blend them on high speed until the almonds are finely ground and the liquid turns creamy.
Straining the Milk:
- Strain the milk using a nut milk bag or cheesecloth to separate the almond milk from the pulp.
- Pour the mixture into the bag or cloth and gently squeeze to extract the milk, allowing the pulp to remain inside.
- The result is silky-smooth almond milk!
Customizing and Storing:
- At this stage, you can customize your almond milk. You can sweeten it with natural sweeteners like dates, maple syrup, or honey or enhance the flavor with additions like vanilla extract or a sprinkle of cinnamon.
- Once your almond milk is to your liking, transfer it to a clean, airtight container and store it in the refrigerator. A see-through glass container is perfect. It will stay fresh for around 3 to 4 days.
Enjoying the Fruits of Your Labor:
Now that you have your homemade almond milk, the possibilities are endless. Use it as a creamy base for your morning cereal, a delightful addition to your favorite coffee or tea, or as a versatile ingredient in smoothies, baked goods, and savory recipes.
Tip: You may need to strain the milk two or three times to use it with your coffee or espresso. Otherwise, it will have some of the pulp remaining and may be uncomfortable. You don’t need to worry about this when adding your homemade almond milk to smoothies or recipes.
Fresh almond milk’s rich, nutty flavor will elevate your culinary creations and leave you wondering why you didn’t start making them sooner.
In the next blog post of this series, we will explore making homemade oat milk. Join me as we dive deeper into the world of DIY solutions. Let’s embrace the path of reducing waste while savoring the joy of creating something wholesome.